SCADAPack 47xi
SCADAPack 470xi series devices ship with a read only file system. Before any files can be written to the Linux file system, an overlay file system needs be loaded onto the RTU and a certificate needs to be installed. The certificate is used to validate the signature of the overlay file system.
The overlay file system contains Microsoft .net and all Linux ethernet adapters have been configured to use Cloudflare (1.1.1.1) and Google (8.8.8.8) DNS servers in '/etc/resolv.conf'. The PLC Shift runtime is not in the overlay file system.
You can find the overlay file systems and certificates for PLC Shift at the links listed below. Only Remote Connect versions that required overlay file systems updates are listed. Follow the instructions provided by Schneider Electric to understand how to use these files. These files must be deployed properly before the steps below will work.
-
Overlay and certificate for Schneider Electric Remote Connect version 2.7.6, March 2023. Bundle version 1.0.
-
Overlay and certificate for Schneider Electric Remote Connect version 3.0.3, August 2023. Bundle version 2.0. This version includes Microsoft .NET version 6 and should only be used with PLC Shift runtime version 1.32 or older.
-
Overlay and certificate for Schneider Electric Remote Connect version 3.0.5, June 2024. Bundle version 3.0. This version includes Microsoft .NET version 8 and should only be used with PLC Shift runtime version 1.32 or older.
-
Overlay and certificate for Schneider Electric Remote Connect version 3.0.5, June 2024. Bundle version 4.0. This version includes Microsoft .NET version 8 and is required for PLC Shift version 2.0 (May 2025) and newer.
The PLC Shift overlay file system must be installed correctly before the PLC Shift runtime can be deployed.
|
The 'Operations Mode' switch on the SCADAPack must be set to privileged mode ('F PRVL') before deployment.
|
Generate a CSV file using the 'File->Export->Remote Connnect' feature that contains objects that are suitable for import into Schneider Electric Remote Connect software. Each line will contain information for one object. All objects for all applications will be exported in the same file.
The generated file is not suitable for export directly into Remote Connect, but the contents of the files can easily be copied and pasted into a Remote Connect export file and then imported into Remote Connect.
The generated file cannot be imported directly into Remote Connect. Copy the contents into a Remote Connect Export File that is generated by Remote Connect first.
|
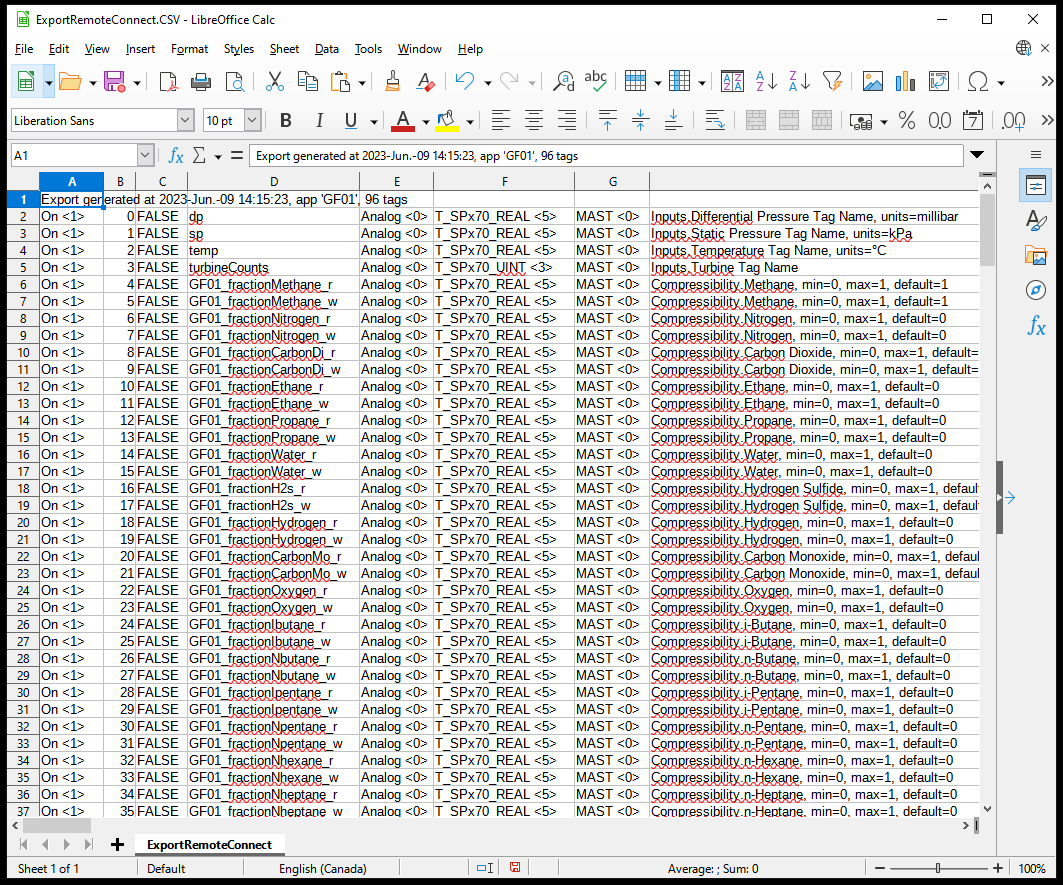
PLC Shift Export in CSV Format with Remote Connect Objects, Not all Columns Shown
Create a new Remote Connect project and create an export file using the 'Additional Functions->Export to Excel File' option.
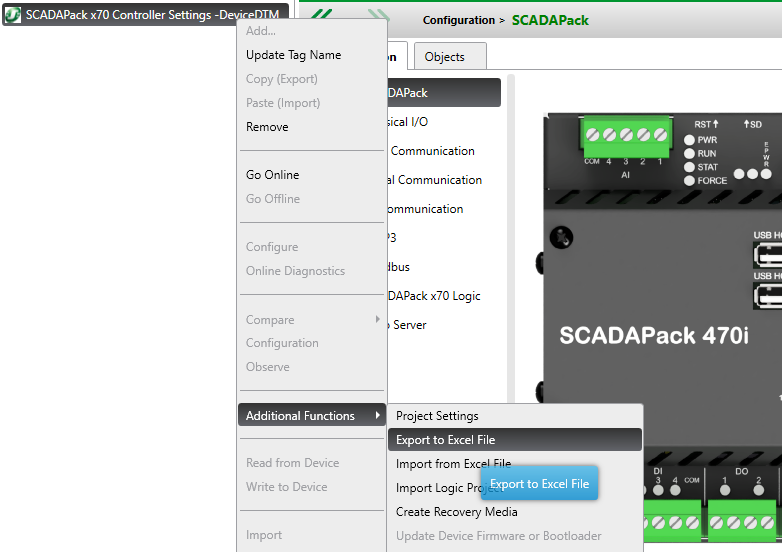
Generate Export from Remote Connect
Open the export file generated by Remote Connect and switch to the 'Objects' tab.
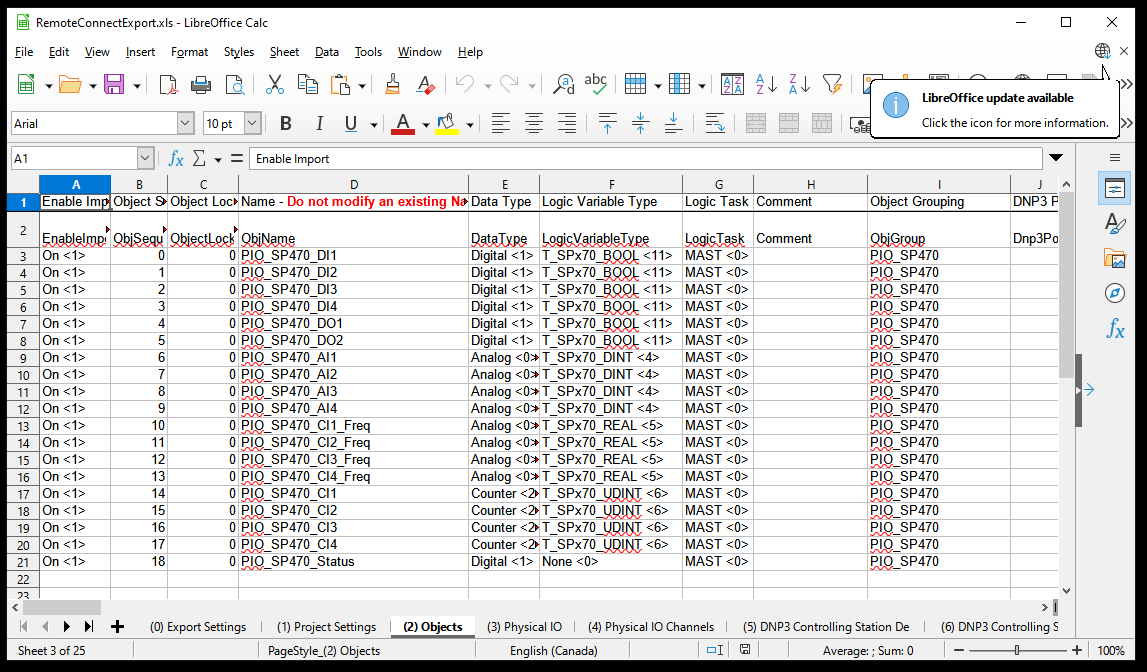
Remote Connect Export File, Objects Tab
Copy the rows from the PLC Shift Remote Connect export file and paste them into the Remote Connect export file. The PLC Shift export file is designed so that the columns align with the Remote Connect export file columns. Make sure to select entire row as the number of columns is quite large.
Only select rows to copy that contain object information. The PLC Shift Remote Connect export file will have some empty rows and header rows.
Make sure to select entire rows when copying from the PLC Shift Remote Connect export. This ensures that all columns get copied.
|
Import the updated file into Remote Connect. The new objects will be created.
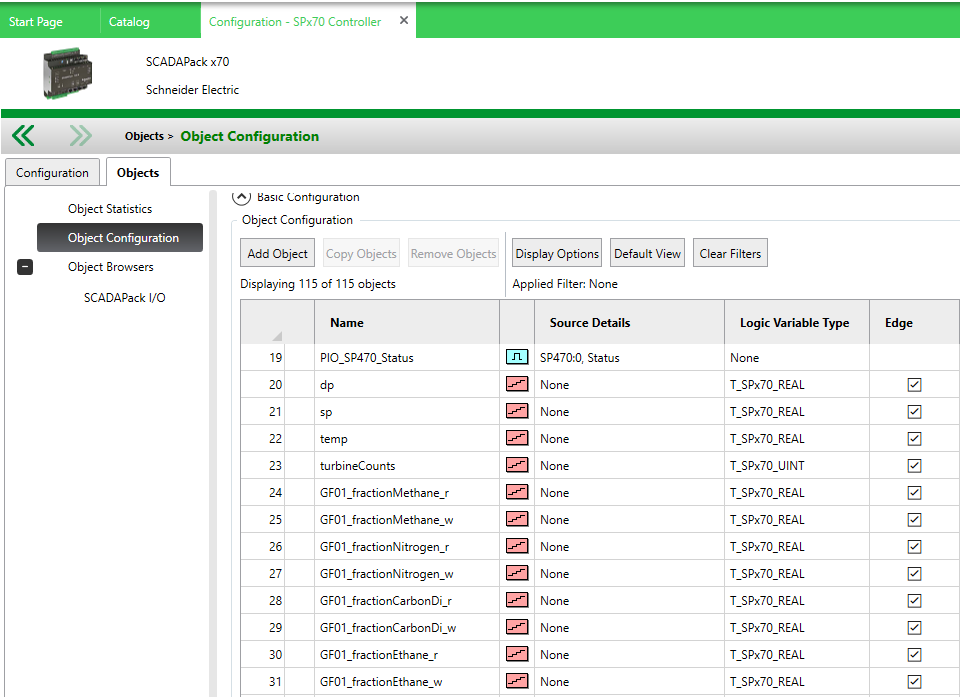
Imported Objects in Remote Connect
You can optionally create object browsers for each application. Each imported Remote Connect object can be grouped by the application's tag name prefix.
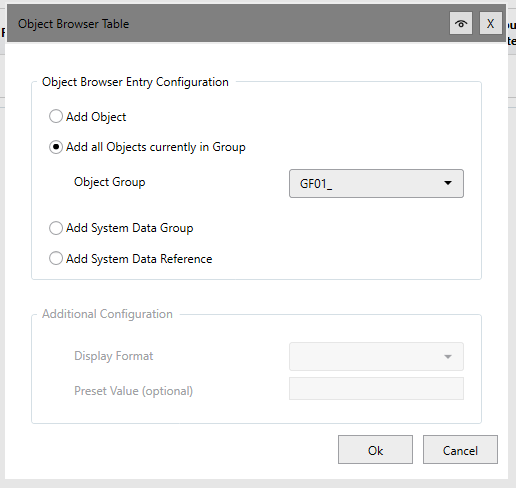
Create Object Browser for a Single App
Write the updated configuration with the new objects to the RTU.